






One Artsy Mama One Artsy Mama One Artsy Mama One Artsy Mama blog lovin'
Showing posts with label round 3. Show all posts

June 3, 2013

Round 3 Projects and VOTE!

It's voting day again, friends!!  Take a look at the fabulous projects our Top 10 created using Glitter and then choose up to 5 of your favorites who you'd like to see move on to the Top 5!  And remember, the top vote recipient in this round will be receiving a glitter prize package from our friends at CraftProjectIdeas.com!

Don't forget, to cast your votes, click the word "vote" that appears ABOVE the thumbnail photo{s} you like at the bottom of the post.

ENTRY A: Glittery Tissue Poms

Well, I’m spreading my wings here using glitter! I made some tissue pom poms from old sewing patterns, then edged the ruffles with silver glitter paint. Now, what to do with them? I decided to continue the sewing theme and cut a “Sew Fun” banner, embellished with dots of silver glitter paint, then attached it to an old rake that I spray painted. I added spools and bobbins to the rake tines and glued buttons along the bottom for more fun color. I propped it in a corner of my sewing/craft/office space- easy to move and fun to look at.

ENTRY B: Glittered Mixed Media Art Project

 I present to you my glittered mixed media art project.  I struggled, a lot to say the least, with this project.  I thought, planned, crafted, scrapped it all and then started over again.  I finally felt content when this was finished.  For the stripes I used a chalkboard paint and glitter spray paint so it would have a good matte/glitter contrast.  For the sticks, I rummaged in my front yard for some scraps and spray painted them with diamond dust spray paint so they would shimmer.  From the start, to the very end, this project was trouble for me, but I am happy to say, I am done!  I hope you enjoy!

ENTRY C: Cupcake Tealight Holder

With some inspiration from a friend, I decided to make a faux decorated cupcake for this round. The clay roses and leaves have been "sugared" with iridescent glitter as has the "icing" on the cupcake. The tealight holder is embedded in a styrofoam ball and can be reused as the candle burns away. These would make great gifts for bridesmaids or favors for a princess birthday party!!

ENTRY D: Glittery Paper Butterfly Rings

Need some bling on your fingers but can't be bothered to buy the super expensive diamond ring? What can be easier than to use glitter? You can make this simple and easy glittery butterfly ring on your own. All you need is a piece of paper, a plain ring, glitters and a little bit of patience in paper cutting (if you don't own a paper cutting tool like me)! It may not be as shiny as the diamond ring, but at least it glitters up your fingers ;)

ENTRY E: Pendants & Earrings


Pendants and earrings made of a few layers of 160 gsm paper.  I cut out the design and glued the layer on another.  Then I put on a layer of glue and sprinkled with glitter.

ENTRY F: Glittery Party Shoes

Who doesn't love a fancy pair of party shoes? We had a pair of black scuffed shoes that were worn out and headed for the trash. I decided to save them, and got to work on adding some glittery fabulousness. First, I used Mod Podge to adhere the fabric to the shoes and then as the glue for my glitter. I trimmed the shoes with ribbon and a sweet robin's-egg-blue button. No longer hand-me-down horrors, these shoes are getting their (second) time to shine!

ENTRY G: Glittered 4th of July Outfit

The night of July 4 is one full of fireworks that sparkle.  So what could be fitting than a 4th of July outfit that sparkles too?  My daughter is so excited to wear this outfit.  She is even thinking of other ways to add glitter to her clothes.

ENTRY H: HOME letters

When I heard the material this week was glitter, I’ll be honest. I was terrified. I’m probably the only crafter that hates glitter. It’s messy and I’m a super messy person when I craft so I could just envision a glitter disaster.  But I tried my best to make something that was me but still incorporated glitter. Since I had absolutely NO glitter at my house, I went shopping and was thrilled to find so many paint and glue products 
containing glitter. I began to breathe a sigh of relief. I wouldn’t have to go the messy glitter route. I could go the paint route. I also discovered that Modge Podge has a ton of options and one actually contains glitter. Score! I love Modge Podge!  I bought this woodcut letter design that says HOME a while back and decided the glitter challenge was just what I’d use it for. First I painted the sides and insides of the 
letters with turquoise acrylic paint. Then I painted turquoise glitter paint on top of that. Then I glued scrapbook paper on top of the letters. I used a bunch of layers of glitter Modge Podge on top of the paper and the sides of the letters. Then I just began to add embellishments to accessorize each letter. Totally my style and still used glitter.

ENTRY I: Glittered Bookcase

Glitter!?!?!? Ahhhh!!!! Please tell me I'm not the only one who gasped with both fear and excitement? So after some serious thought I decided to tackle the bookcase/ night stand for my little ladies room. After LOTS of sanding and painting and glittering the finished project turned out absolutely glittertastic!!!! :) 

ENTRY J: Glittered Suncatcher/Windchime

I love the look of the washer jewelry that's been popping up everywhere. Washers and glitter? Manly and girly? I was on a mission.  I stood for about an hour in the hardware store picking through washer drawers to make sure I didn't get any that were scratched or double stamped.  I got a lot of strange looks, and even had a guy tease me about needing 'special washers'. I carefully filled the inside of each washer and fondant cutter with Mod Podge, sprinkled the glitter on, and waited for it to dry.. and waited, and waited, and realized they would have to speed dry in the oven to meet the deadline.  They dried clear so that all you see is suspended glitter through each opening. (the pictures don't show this well) I hung them up on a metallic painted rod with fishing line. It's roughly 2x3 ft.
I had a hard time taking pictures of this because.. well.. it did what it was 
supposed to do and swayed and moved in the breeze and reflected the colors surrounding it! I laid it flat to try to get the best picture.
This craft almost didn't happen.  I hit SO many snafus along the way. When it got down to the last hours for submitting this, even my computer wouldn't load the pictures! There were so many trials and tribulations with this project. So I hope you can appreciate how this suncatcher wind chime that almost 
wasn't came to be!

*******************************
To vote for your favorites, just click "Vote"  ABOVE the thumbnail images of the projects you like.  Voting closes Tuesday June 4 at noon EST.  Check back Tuesday evening to see who's continuing on and at midnight to find out the new material!

Pin It!

May 29, 2013

Round 3 Material!

Wow!  Did you love those washi tape projects or what?!  I have to confess, though, that I've been waiting for this round most of all because I'm making the contestants use one of my all time favorite supplies {and Little Crafter's too!}...can you guess it?

GLITTER!!
Glitter Shakers Variety Pack Neon Colors
Heehee!  Husbands everywhere are going to be calling me nasty names this week, I just know it.  So here's the sparkly details: the project must include some type of glitter somewhere, somehow.  It can be fine glitter, coarse glitter, Sparkle Mod Podge, or any other glitter contestants have on hand!
The glitter can be a small accent to the project, or the whole thing can be covered in it.  Glitter anything you want...cuz remember, Glitter Makes Everything Better!!

This round is sponsored by my friends at CraftprojectIdeas.com.


The contestant whose glitter project receives the most reader votes will win a box of various glitter supplies to use in her future projects!  The actual contents will be a surprise, but here's a peek at a few of the fun glitter products Craftprojectideas.com offers!  {Many of these are available at your local Wal-Mart store}!

Glitter Mega Shakers {yes, please}!
Glitter Shakers 12 Pack Mega Glitter

Glitter Packs 16 Pack
Glitter Glue Variety Pack Neon 10 pack
Are you inspired to sparkle?  I sure am!  Remember, contestant projects must be submitted via email no later than Sunday night at 11:59 PM EST.  Come back on Monday to vote for your favorites!

Hugs & well, GLITTER,


Pin It!

June 5, 2012

Fabric Winner and our TOP 5!

It's that time again...time to find out the results of your votes and see who's moving on to Round 4 of One Crafty Contest!

Once again, we had an amazing line up of projects.  As always, many of the contestants will be posting tutorials, which I'll link to their project names on this page as soon as they're available.  We also had our largest voter turnout yet!  Thanks so much for voting and supporting these incredibly talented contestants!

Here are the four projects you voted into the next round, in order of votes received.


Fabric Round Winner {and recipient of $20 shop credit to Lemon Tree Fabrics}


In second place was...
ADRIANNE: Raya's Quilt

And, tied with the same number of votes for third place were...


The judges had our hardest decision ever this week. We had six fantastic contestants/projects to consider and could only save one.  We really wished we could save them all...I mean, really!  After a lengthy discussion {most of which was on task, except for the part about Judge Jen's blue hair... :)} we finally unanimously decided to save this talented lady to continue on in the contest:

PAMELA: Pottery Barn Inspired Curtains

Unfortunately, that means we have to say good-bye to some really talented competitors.  Here they are, in alphabetical order.  I am really going to miss seeing what these gals would have come up with for the other rounds!

AMY: Gnome House


SARAH: Custom Rug

I'm starting to hate Tuesday afternoons.  I wish everyone could just keep playing!  Waaah!  Who made these rules, anyway? 

  Thanks again to ALL of our competitors; I loved every single project and am so proud of all you ladies have created!  {Now I know how Cat Deely feels when people have to leave my favorite show, SYTYCD!}

Come on back at midnight EST to see what Round 4's mystery material will be...

Happy Crafting!


Pin It!

June 4, 2012

Round 3: Fabric Entries and VOTE!

Welcome to Round 3 of One Crafty Contest!
Take a look at the fabulous things our top 10 contestants created this week using fabric.  Then, vote for up to five of your favorites using the linky vote tool at the end of this post to keep them in the competition.  The top four vote recipients will automatically move on to the next round, and the judging panel will save one more constestant from the "bottom six" to continue on to next week's challenge.  Plus, our top vote recipient will win a $20 shop credit to Lemon Tree Fabrics.  Your votes really do count!

***Please note, the vote button for each project is located ABOVE its thumbnail photo in the linky tool.***
You must click VOTE; clicking on the photo or project name does NOT count as a vote.


ENTRY A: Monster Fleece Lovey Blankets

I've had 2 yards of monster themed fleece sitting on my craft shelf for months and when I found out that this weeks material was fabric, I knew it was time to put it to use! I decided on a making monster lovey blankets that are a cross between a small security blanket and an amigurumi doll. I cut 10.5 x 12 pieces of the fabric and used a skip stitch blade to make holes so I could crochet along the edges. I created crochet patterns for the head, eyes, horns, tooth, arms and feet of the monster, stuffed them with a small amount of poly-fil and sewed them onto the blankets. My little monsters are already having lots of snuggle time with their new lovey blankets!

ENTRY B: Portable Gnome House and Gnomes

There's no place like 'gnome'.  This portable gnome house can entertain your wee one for hours at home, in the car or on the go.  If you are interested in moving in, this house is made of sturdy Pellon, covered in 100% cotton fabric.  Each window has slatted embroidered shutters.  The landscaping is easy to upkeep, water the button flowers in the flower boxes weekly and pick as many apples from the apple tree as you like.  The ribbon handle makes this house easy to move so relocation is not an issue.  Once this adorable felt gnome couple's lease is up, this house is move in ready.  


ENTRY C: Fabric Covered Notebook

Did you know that you can run fabric through your home printer?? Well, I decided to give it a try and it worked perfectly! For this project, I added printed fabric to a simple composition notebook by using Heat-n-Bond to make a beautiful, one of a kind journal. I added details to it like hand stamped metal charms, twine, and beads to make it a little more "me". The possibilities for this project are endless.....just think of all the fun, vintage clip art you could choose from and print them right onto the fabric! I hope you love it as much as I do! I am off to go work on the tutorial to share just how easy it is for you to make one {or one hundred} for yourself!

ENTRY D: Raya's Quilt

My very first sewing project was a quilt that my Gram helped me make {not this one}.  I love quilts... they are like artist canvases, only you can snuggle up and keep warm with them!  I've had it in my mind that I wanted to make a quilt with my daughter's name on it for some time now, it just kept getting put off in favor of less time-consuming projects.  But this challenge has been a great way to unleash some of my big ideas! 
For this quilt, a Silhouette machine sure would have been nice, but I assure you, you can freehand and applique anything you can imagine without any fancy tools.  You just need some heat-n-bond, an iron, and a little creativity!  I sketched out and cut out all these pieces by hand (well, I traced the letters off a computer printout).  Then I appliqued them all on to create my quilt top, and quilted it using traditional methods.  It's a great mix of classic heirloom and contemporary design, and something I hope my daughter treasures in the years to come!


ENTRY E: Reupholstered Chair

 This week for the fabric portion of the contest I chose to recover this chair. I paid $12.50 for this chair! I loved the chair but was not such a fan of the fabric so I took on the challenge of my first reupholstering project! I shopped around till I found a fabric I liked and then got started on removing staples and unpicking the existing fabric so that I could copy the pattern. This was a completely new experience for me and I really had fun! I love the finished product! Now all I need to do is start on the other 7 matching chairs! As always there will be a tutorial after judging!


ENTRY F: Ruffle Tank Dress
I created the ruffle dress for my seven year old daughter.  It was inspired by a Kate Spade dress that I had seen and absolutely fell in love with.  However, I didn't fall in love with the $268.00 price tag.  I knew I could make this, and make it for a whole lot less.  I took one of my daughters summer tank dresses that she loves because it's roomy and gives her the ability to wear a dress and still run, jump, kick and do all the things a seven year old loves to do.  I used that for the basis of my pattern and created the simple tank with some pink stripe knit material that I had.  My daughter is all about big, bold, and anything that makes a statement. She immediately fell in love with the dress, but mostly the big ruffle all around the neckline.  The best thing about this dress is that it's age appropriate.  It's the perfect combination of youthfulness and sophistication for a seven year old.

ENTRY G: Tufted Zebra Ottoman
                                                                          The ottoman in our family room was a curbside find about 10 years ago. I rescued it, reupolstered it, and it has been a family favorite ever since. Except my kids LOVE to jump on it!! Our ottoman was getting pretty sad and in desperate need of a makeover! Nothing like a little zebra print to turn sad into sassy! New batting was added inside for extra comfort, and the top is button-tufted for a little more style. The ottoman's feet are wrapped with (fake) leather which helps them stand out just a bit more than before. This ottoman has a new lease on life and is now officially a "jump free zone." :)


ENTRY H: Pottery Barn Inspired Curtains


"I saw these curtains at Pottery Barn Kids a while back and loved them but their price tag was way out of my budget.  So with this challenge I picked up some cheap curtains, acrylic paint, and fabric medium to create my own version.  They originally had tab pieces to hang from the curtain rod, but I'm a personal fan of grommets so after some adjustments I turned these cheap curtains into the exact additions I wanted for my son's room"

ENTRY I: The Celebration Sundresss
I LOVE FABRIC!! I was super excited for this week's challenge, as this is where my true love lies. I have such a ball dressing up my daughter while she'll still let me, and I've discovered how fun it is to create custom clothes just for her! I love bunting and was excited to make it part of her wardrobe! To me this dress is all about sunshine, carnivals, parties, and everything summer has to celebrate!

ENTRY J: Custom Rug


I really have been wanting a new rug that had a cute design, but I didn't want to spend the money on one.  For the size I wanted the always end up being around $800.  So I decided to make one from an Ikea rug that only cost me $60.  I picked out the fabric that would coordinate with the room its going in.  I cut it down to size and starched all my pieces.  Then I cut out a shape using my Cricut and used a heat fusion transfer for the back of the shapes and ironed them on my rug!

Well, friends, I don't envy you your decision!  How do you pick just five of these fantastic projects?  It's voting time...and remember the vote button for each project appears ABOVE its thumbnail photo.  Clicking on the photo or project name does NOT count as a vote.  Voting closes at noon EST on Tuesday, June 5.

Thanks to our incredibly creative contestants for another great round of entries!  Good luck!  Our top 5 will be announced tomorrow evening, so be sure to stop by and see who's headed to Round 4.

Happy Crafting...and voting!

Pin It!

May 30, 2012

Round 3: Material

I'm sure you all were as impressed as I was by what a crafter can do with a little {or a lot} of Mod Podge!  This week, our top 10 contestants have a new challenge. 

FABRIC

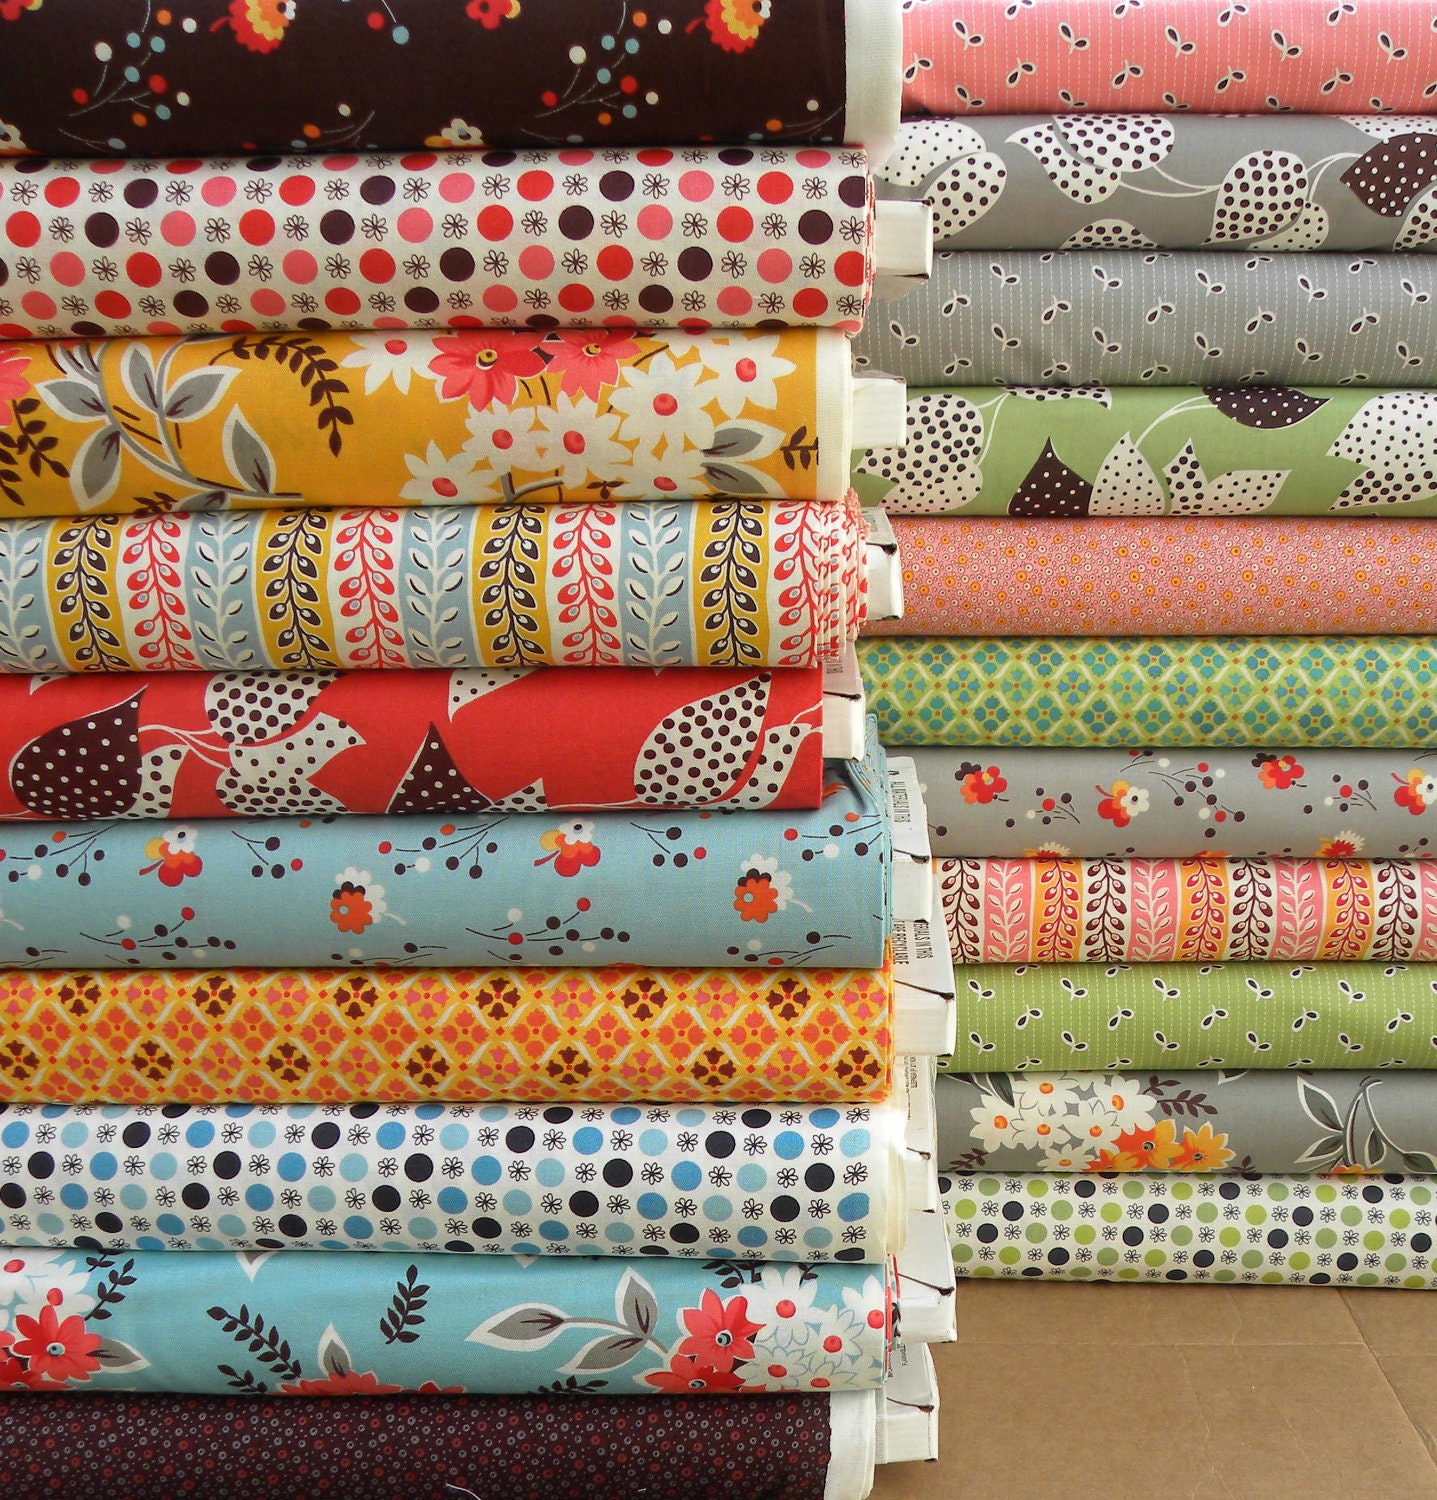
Flea Market Fancy by Denyse Schmidt, Entire Collection in Half-Yard Bundle of 21. Save with bundle pricing.

As always, our contestants may make any type of craft/project they like and use any additional materials, but all entries must somehow incorporate FABRIC.

This round is generously sponsored by


The project receiving the most votes will win $20 shop credit to Lemon Tree Fabrics on Etsy.

This shop is full of goodies; take a look at some of my faves!

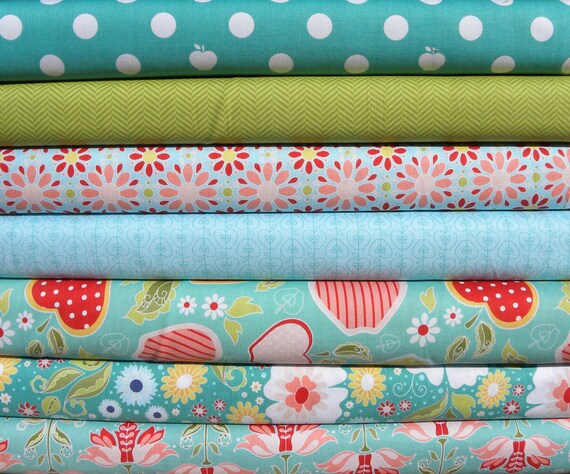
The Quilted Fish for Riley Blake Apple of My Eye Blue Colorway 1  Yard  Bundle of 7

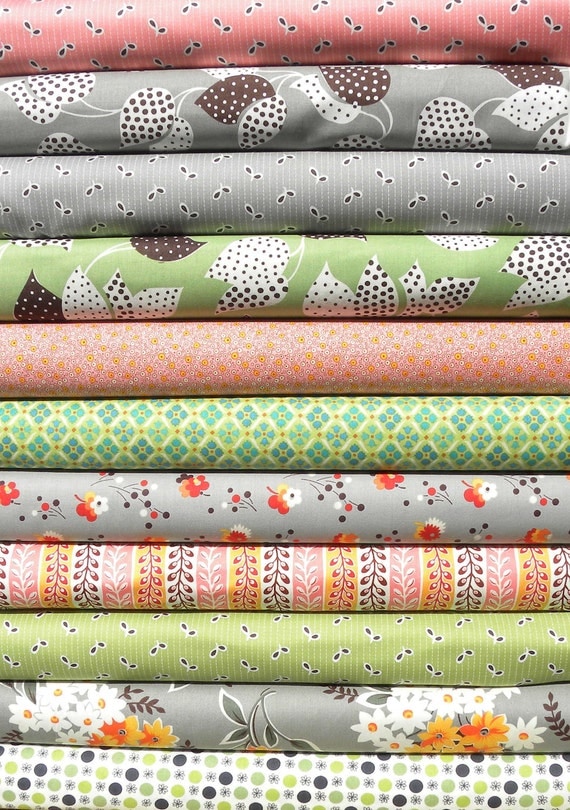
Flea Market Fancy by Denyse Schmidt, Spring Market Palette: Yard Bundle of 11. Save with bundle pricing.

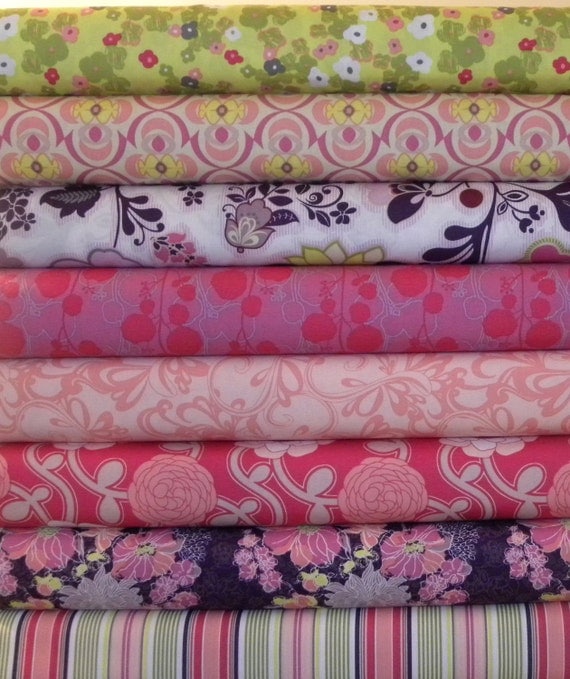
Poetica by AG In- House Studio for Art Gallery Fabrics Rose Ballad 9 Yard Bundle

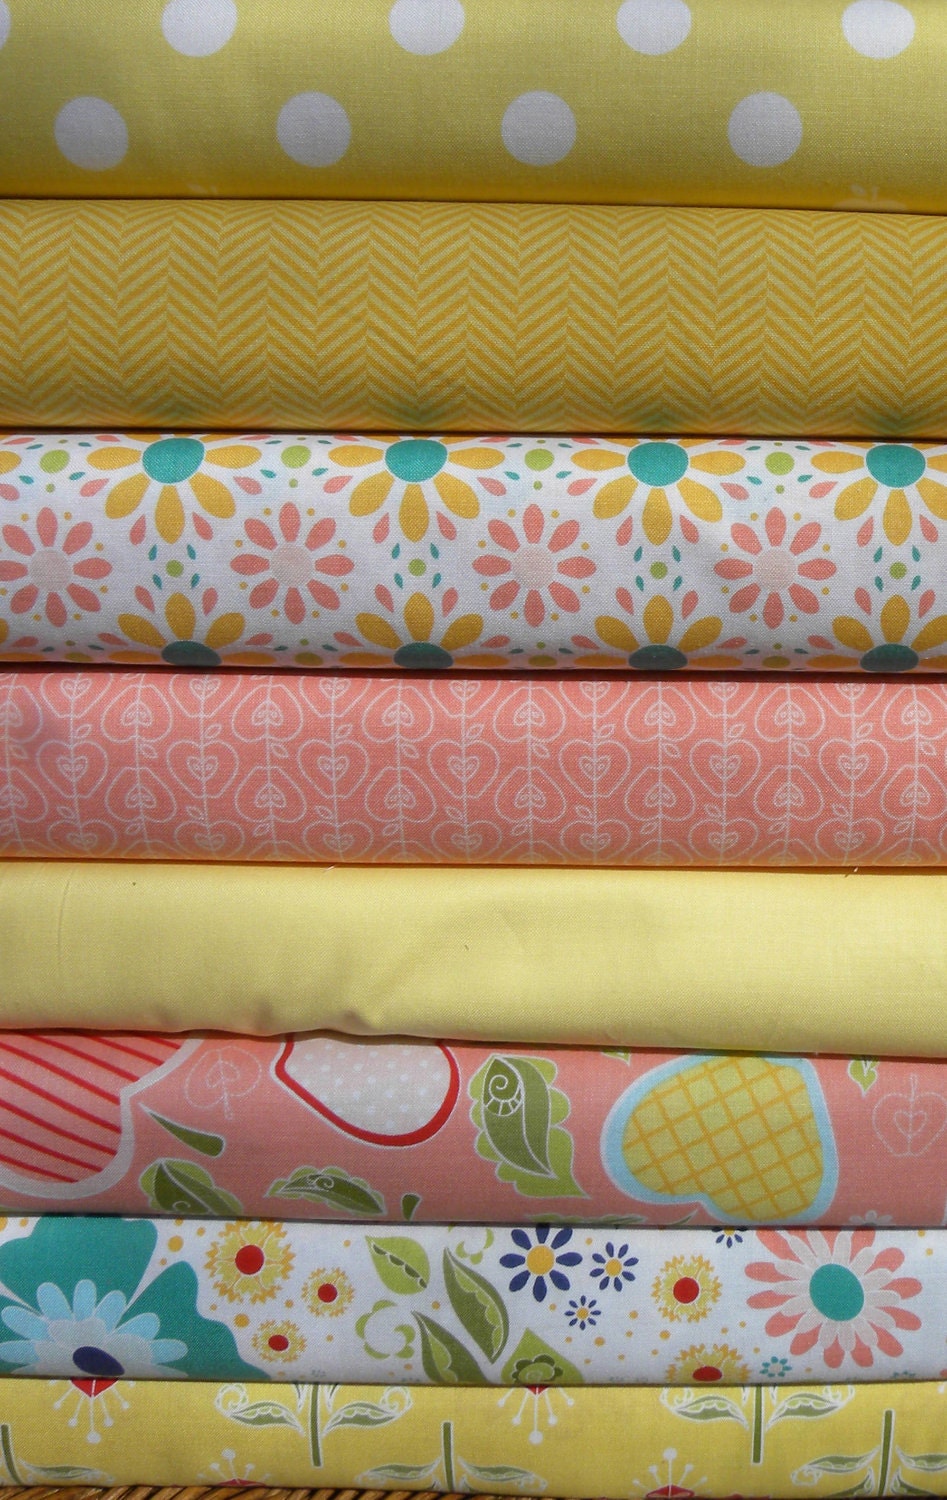
The Quilted Fish for Riley Blake Apple of My Eye Yellow Colorway Fat Quarter Bundle of 8


A big thank you to Julie at Lemon Tree Fabrics for sponsoring Round 3!  Now, what are you waiting for?  Let's get crafting!  Remember, anyone who makes something with this week's material and sends me a link can be featured on the One Artsy Mama Facebook page!

Happy Crafting!

Pin It!
Related Posts Plugin for WordPress, Blogger...
Pin It button on image hover